6 steps to perfect summer feet
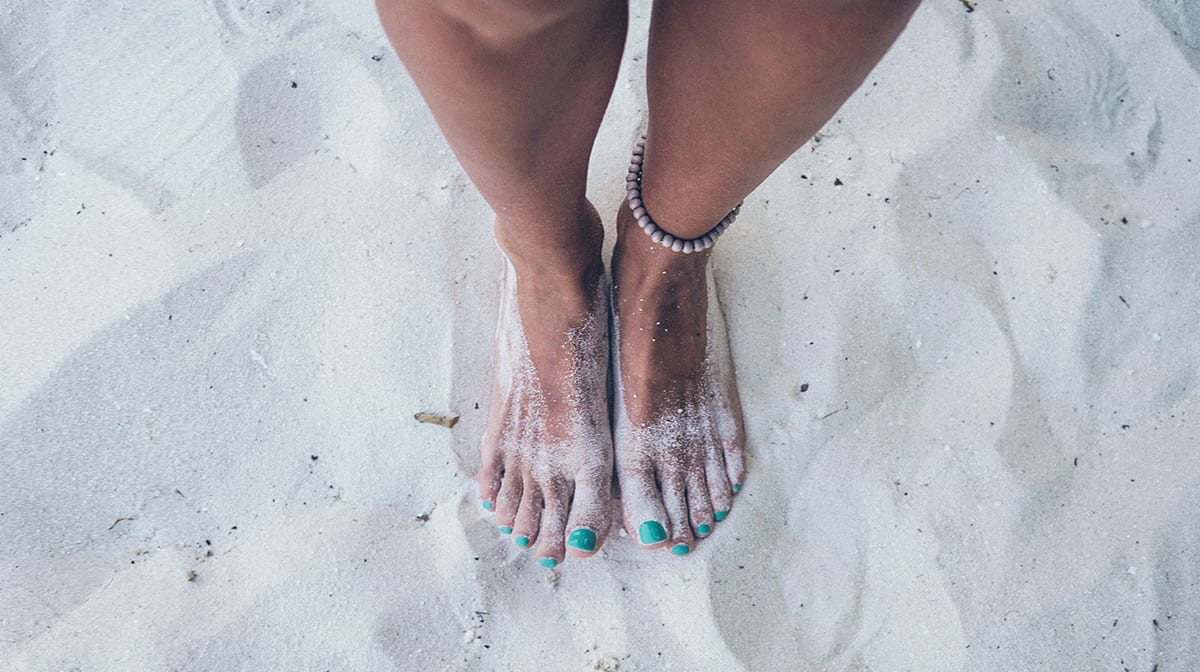
Spending most of their time hidden away, our feet are easy to ignore during the winter. However, when it hits summer and the open toe heels and sandals come out of our wardrobes, no little piggies get to stay at home. No need to panic! We have the 6 simple steps for an at home pedicure that will leave your feet pampered, polished and poolside ready when the time comes, alongside some top tips from essie's global lead educator, Rita Remark!
Step 1: Cleanse & Soak
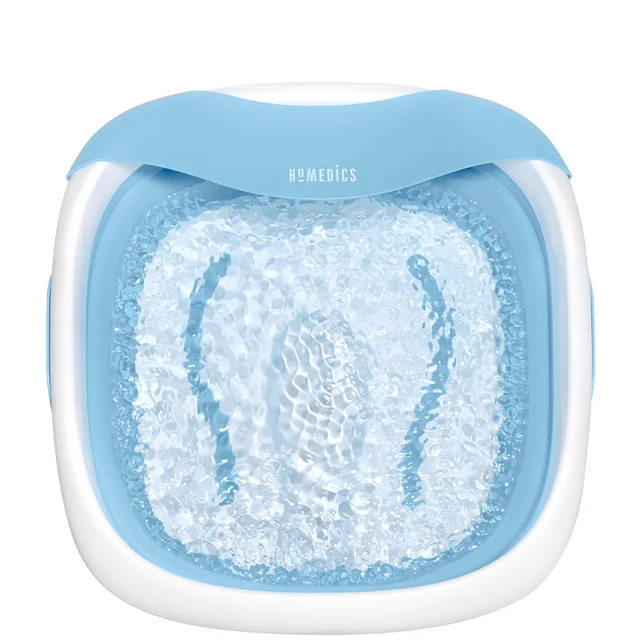
Start off by cleansing and soaking the feet to soften the skin. Either in the bath or using an at home Foot Spa such as the Homedics MySpa Luxury Foldaway Foot Spa, relax and put your feet down into lukewarm water for around ten minutes to allow them to soak. Not only is this a fantastic way to start off your calming at home pedicure, but soaking the feet will soften dead skin cells, making them easier to remove.
Rita's expert tip if you're short on time: "Start your pedi after a long bath or shower if you don't have the spare time to soak your feet."
Step 2: Exfoliate
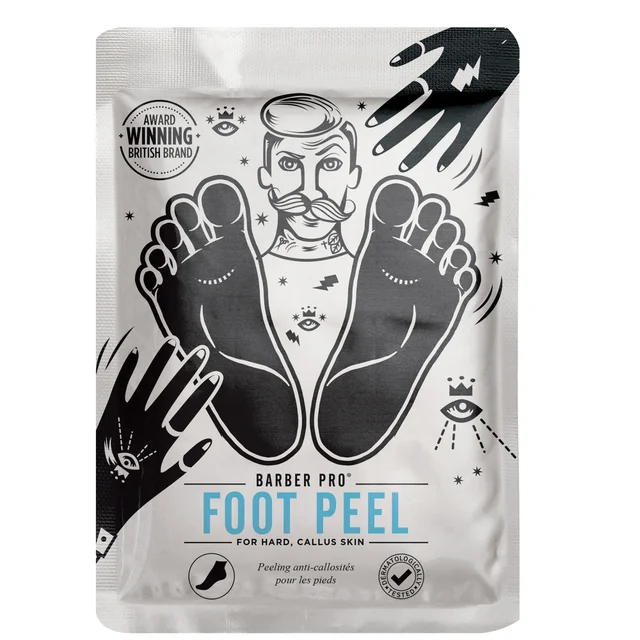
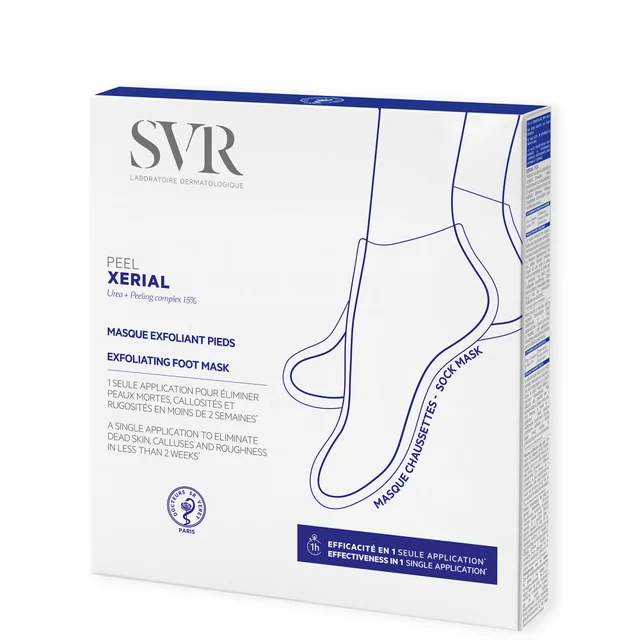
Being walked on every single day of our lives, it is completely normal for hard skin to form on the underneath of the feet as a protective barrier, and for dry or cracked patches to appear. Easily erase dead skin and cracks with a foot exfoliating mask or scrub, or if you have the time, both! Slip your feet into the Barber Pro dual Foot Peel Treatment for an effective treatment of Salicylic Acid and 16 botanic and fruit extracts that will revitalise your tired feet.
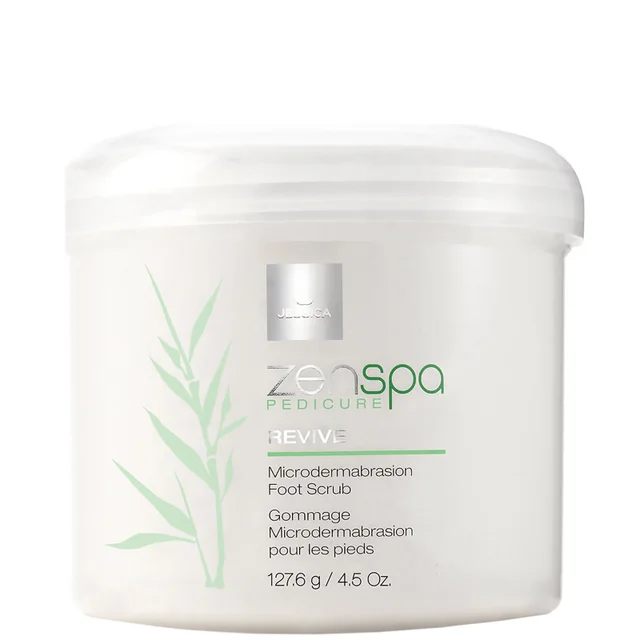
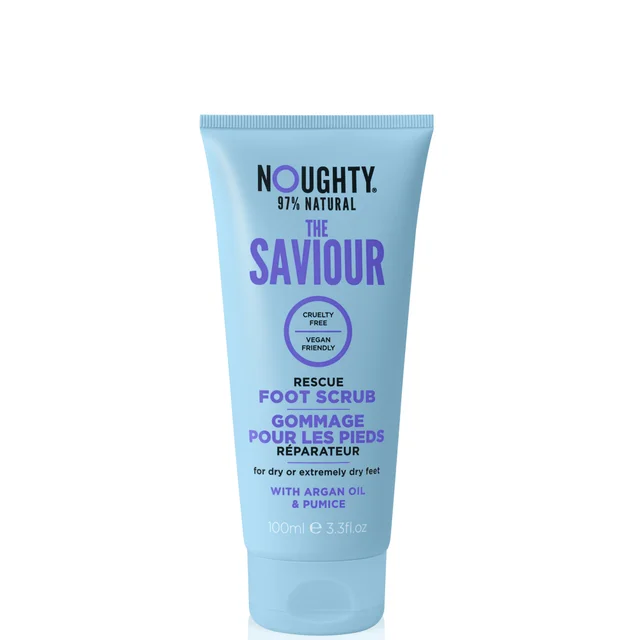
Follow your mask treatment with a gentle scrub to remove any left over dead skin cells, taking the time to give yourself a well needed foot massage as you work the scrub around the feet in circular motions.
Step 3: File
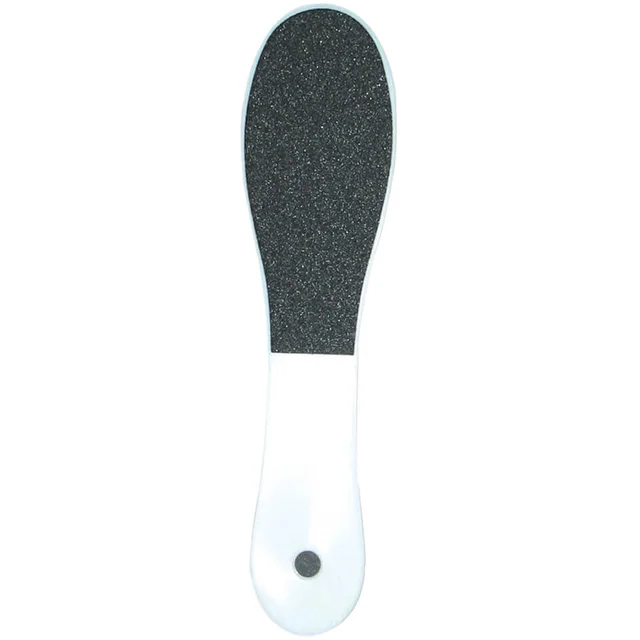
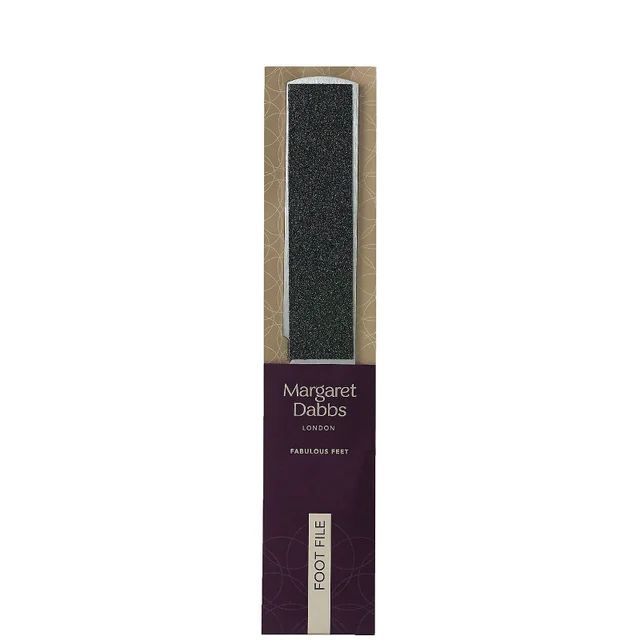
Dead skin on the feet is stubborn and can require a little more than a gentle scrub to budge; bring in the foot file! Once you have taken off the initial layer of dead skin with your mask or scrub, and your feet have been properly soaked, target the most troubled areas (usually the heel and the ball of the foot) with a foot file.
It's important to remember to be gentle with this to prevent damaging healthy skin. When it comes to filing, it's a marathon not a sprint, so don't try and remove a years worth of hard skin build up in one day! Once you have finished filing, rinse your feet to remove any dead skin cells before moving on to the next steps.
Rita's top tip: "Remember, it’s important to always keep nails short to prevent lifting and in a square shape to prevent ingrown toenails."
Step 4: Mask
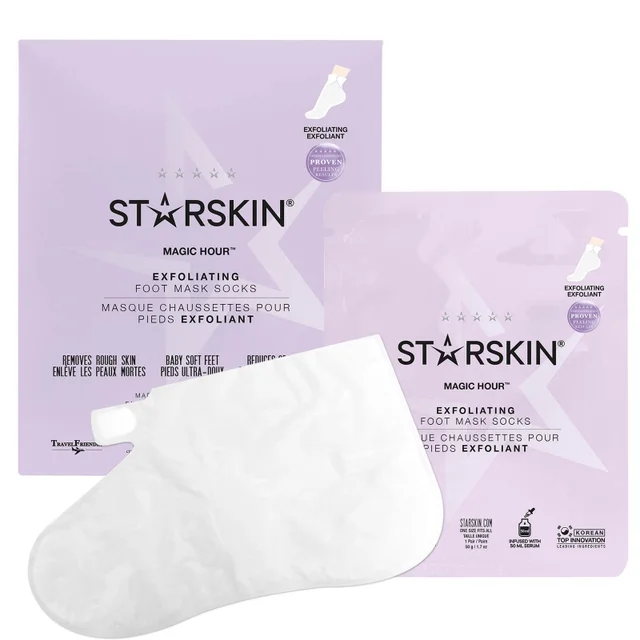
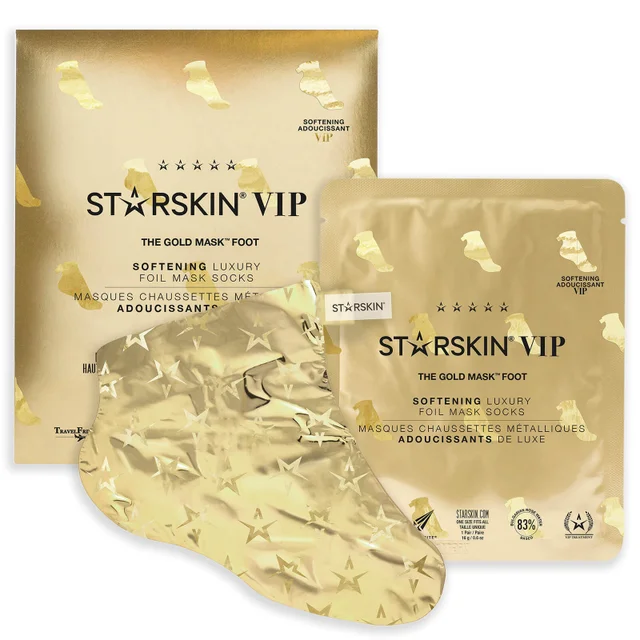
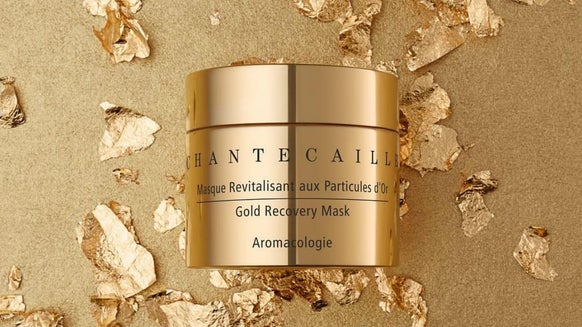
Now that you have removed the majority of dead skin to reveal the smooth, healthy layers, it's important to moisturise and nourish. An easy and relaxing way to do this is with a foot mask. Specially designed for the thicker skin on the feet, the STARSKIN VIP The Gold Foot Mask is designed to soothe, soften and moisturise in just 15 minutes. The gold standard mask is a little bit of luxury in your own home infused with Bulgarian Rose, Zeolite and Shea Butter and designed with a warming, sauna effect for maximum absorption (and to keep your toes warm)!
step 5: Prep the nails
Once your toenails and heels have been filed and softened, using the Essie Apricot Treatment Cuticle Oil, apply to the cuticle area, rub in and leave for 1 minute. With a cuticle pusher, gently guide the cuticles back into place. Remember to not over-push or scrape the nails.
With a buffing block, give each nail a light buff to smooth ridges and remove any residue, leaving behind bright healthy nails. Then, with a stainless steel cuticle nipper, gently trim these away. Remember, this step is only necessary if there are hangnails or dry skin. Healthy nails and cuticles don’t need to be nipped, so less is more!
The final step before you apply your polish, to extend the life of your pedicure, always remember to moisturise the nail. After the filing, buffing and softening, your feet will quickly absorb foot lotion and leave your feet feeling baby soft. Just as we do with our hands, don’t forget to always cleanse the nail plate with nail polish remover first before polishing since our natural nails carry a lot of residue and oils.
Step 5: Polish
Whether you opt for a coat of your favourite natural or go all out with a bold and bright splash of colour, no pedicure is complete with out a lick of polish.
Base coat
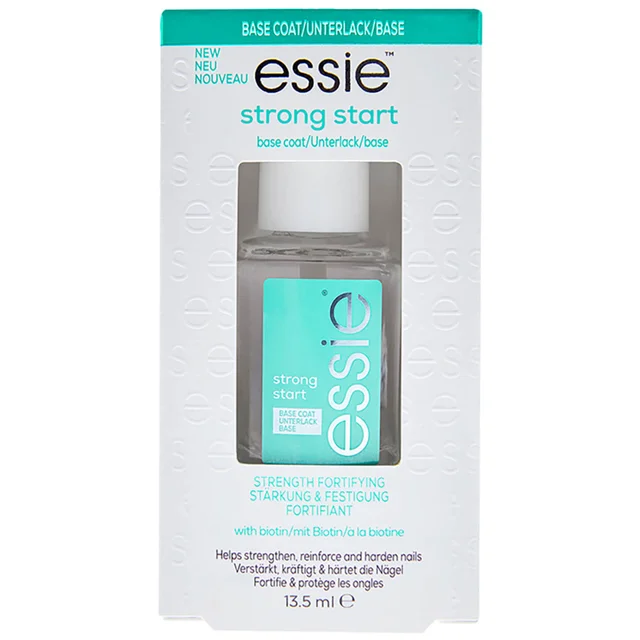
If using an essie enamel nail polish, apply one thin layer of base coat. This step is often overlooked, but it is essential for a healthy long-wearing pedicure. Base coat protects natural nails from the stains that polish can leave behind and acts as a bond for colour, preventing chips. essie boasts a few extraordinary base coats that cater to your own individual nail needs. Looking for a longwearing finish? Use the here to stay base coat with colour-lock technology that extends the life of your pedicure colour. Need added strength? Use Essie's biotin-infused strong start base coat.
Colour
After your base coat, apply your chosen colour. For the best, glossy and fully covered finish, apply two coats of your chosen colour; the first coat should cover the entire nail, keeping a hairline space between the nail and your cuticles. The second coat will deepen the colour.
Rita's pro tip: "Remember to wait 2 minutes between coats for a faster drying time and to prevent dragging the previous coat down the nail. It’s also important to remember to run the nail polish brush along the tip of the nail with each step, 'capping' the nail ensures a chip-free barrier."
Top Coat
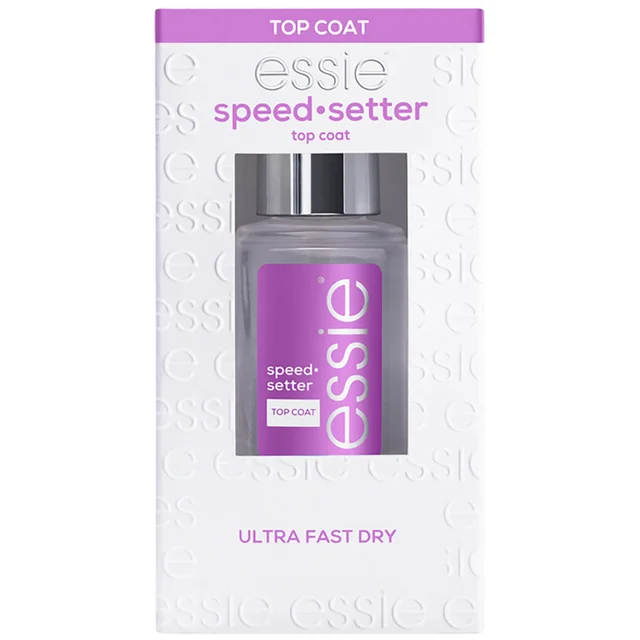
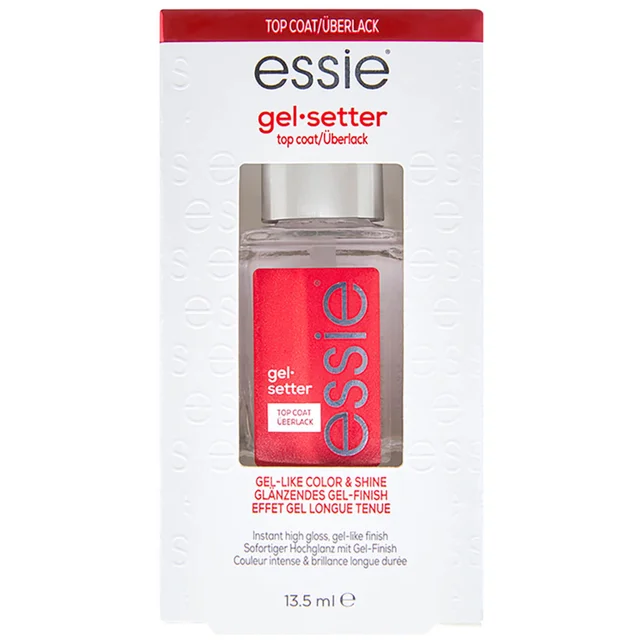
For lasting shine and wear, top off your nail polish with a layer of top coat. Whether you choose a glossy high shine top coat, like the essie gel setter top coat or a quick-dry ally, like the essie speed setter top coat, this step is necessary for a long-wearing pedicure.
Our expert's top tip for preventing smudging: "Be sure to allow enough time for your nails to dry before putting any shoes or slippers back on!"
Step 6: Moisturise
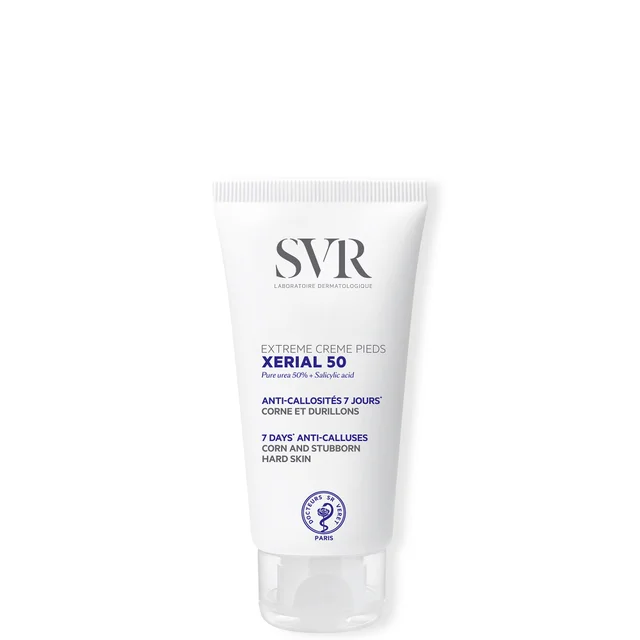
Preserve your polished paws with another round of your intense moisturiser to keep the skin soft and maintain your summer ready flawless feet. Apply a nourishing foot cream such as the SVR Xerial 50 Extreme Creme Pieds Feet Care Cream formulated with Shea Butter all over the foot. The highly hydrating blend not only moisturises but also acts like a pumice to slough off any last remaining dead skin cells. The cream absorbs fully into the skin without any greasy residue to that you can step straight into your sandals!
To make sure your shiny, polished pedi is maintained, apply your essie Cuticle Oil Apricot Treatment again for added strength and protection.

Working with brands at LOOKFANTASTIC for over two years I have developed my knowledge of all things beauty from key skincare concerns to niche makeup tricks and haircare hacks. I have a major passion for finding effective solutions that are easily accessible to everyone so that we can all achieve our best, glowing complexion.
