How to do Bantu Knots

Bantu Knots are the ultimate statement hairstyle – and they’re not as hard as they look. Icons ranging from Queen B to Cardi B have worn them, and no one can forget that time Rihanna rocked Bantu Knots. The knots were part of Scary Spice's signature look, and the style has even been seen on Adele.
If you’re looking for a sign to give Bantu Knots a go – this is it! In six easy steps, you can take your hairstyle from every day to editorial. As well as being a great style, Bantu Knots are also an easy way to create heatless curls. Just wear them overnight and wake up to big bouncy curls come morning.
How to do Bantu Knots:
Step 1: Prepare hair the night before
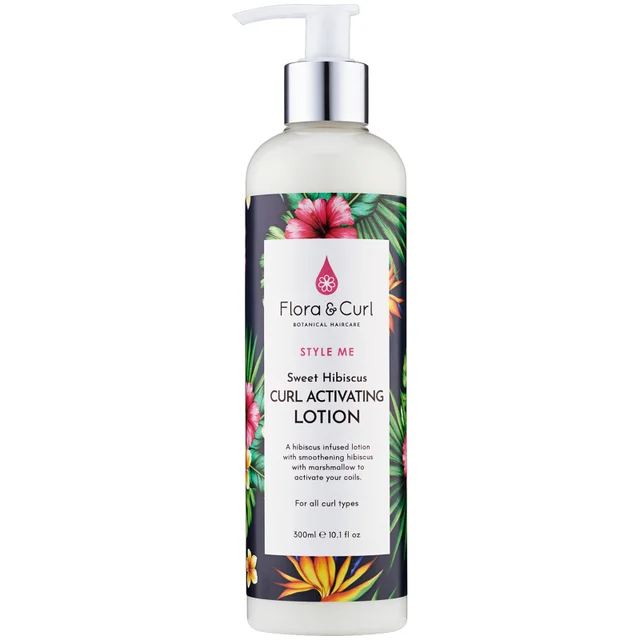
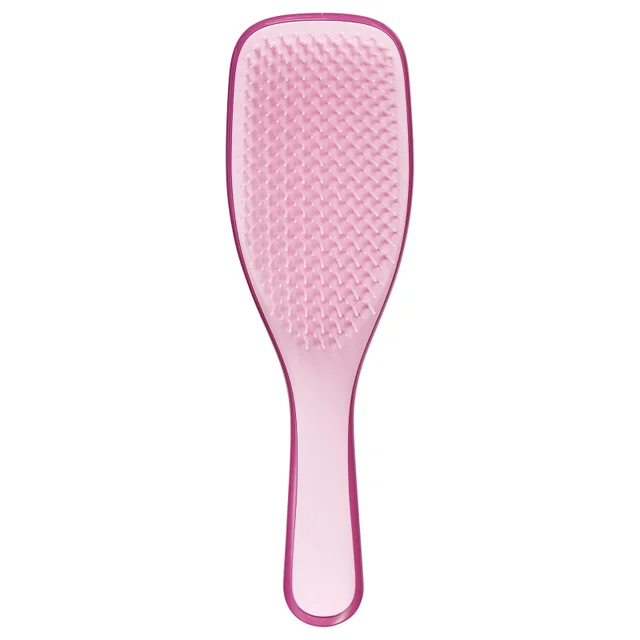
Washing, detangling and sectioning your hair the night before will save heaps of time. Following your usual routine, wash and condition your hair. Split your hair into four rough sections before you detangle to reduce breakage, and use just one trusty curl milk or lightweight product.
Now that your hair is detangled, you need to clean up the sections - that's the key to killer Bantu Knots. I find sectioning the hardest step, especially the back of my head, so get someone to help if you can. If you want to do it yourself, you’ll need two mirrors: one standing and one handheld. With your back to the standing mirror, use the handheld mirror to check your sections. Although it’s great to get a sharp part, try not to be too hard on yourself; these things take time and practise.
Once you're happy with your sections, tightly plait them one by one. Leave these plaits in overnight. This method will stretch your hair, loosening the curls to help your hair lie flatter in the style. This also keeps the curls detangled, making every step of the process easier.
Step 2: Section again
Now, you’re ready to begin! Start by unplaiting one of your front sections. Use a comb to divide that section into two. Try your best to get a straight sharp line, as this parting is visible from the front. To keep the section you’re not working with out of the way, either plait it again or use a hair tie to keep it separate.
Step 3: Apply Product
Apply a lightweight product to your hair, ideally a curl milk or cream. I use the Camille Rose Naturals Curl Love Moisture Milk, because it’s super lightweight, quickly absorbed by my hair and infused with the most incredible fragrance.
Starting at the ends, apply a moderate amount of product to the section and brush it through. I use the
Next, go in with a lightweight jelly. Jellies are a hybrid formula, somewhere between a curl cream and gel. They work really well for these kinds of styles as they provide hold without leaving your hair rock hard. I use the Camille Rose Naturals Curl Maker Curling Jelly because it’s Curly Girl Approved, lightweight and packed with nurturing ingredients.
Step 4: Scrape & sculpt
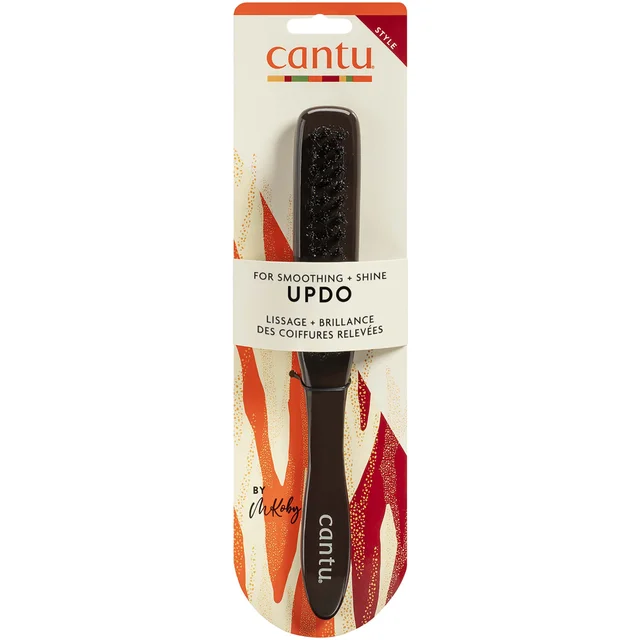
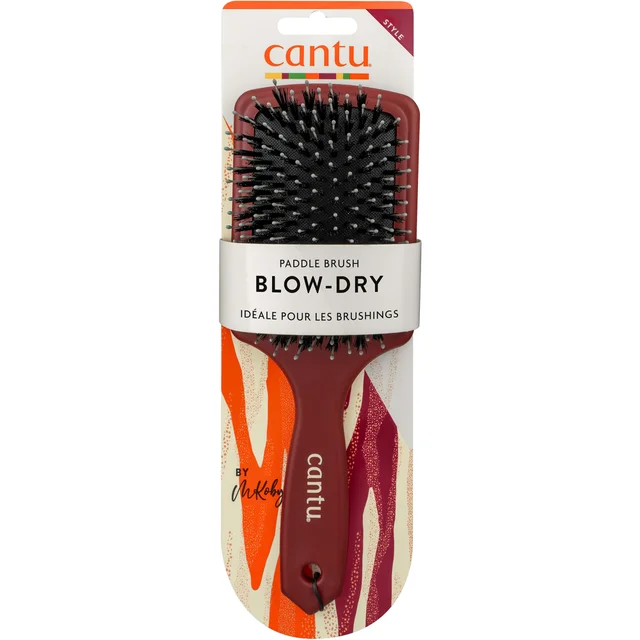
Nearly there! Now, use a soft paddle brush and start getting your hair into position. Make sure the brush has firm, natural bristles, rather than plastic ones. Naturally bristled brushes create much sleeker styles and do a better job of distributing product.
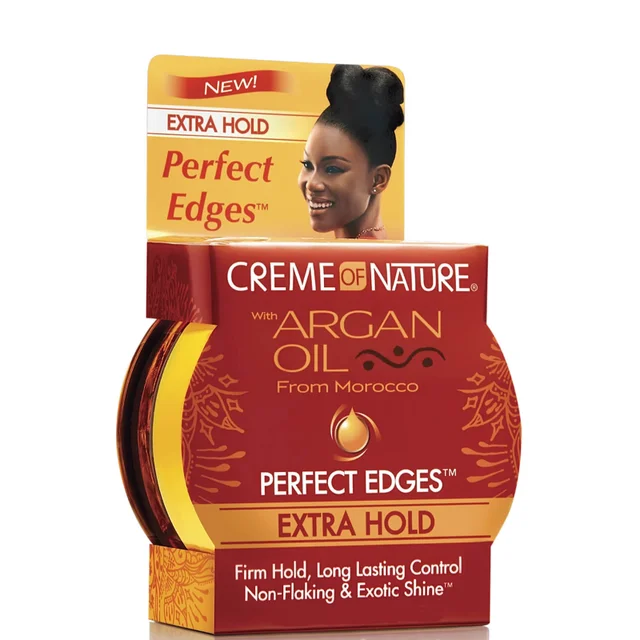
Once you have your hair in the desired place, apply a little gel with the other hand. I like the Crème of Nature Argan Oil Perfect Edges Extra Hold for a long-lasting firm finish. Although each of the four sides in the section need gel, focus on the front as it will be the most visible. Brush the gel through with the paddle brush to avoid clumping or flaking.
Step 5: Start Bantu Knotting
Keep twisting your hair in the same direction, moving down towards the ends, bit by bit. Just keep in mind that the centre of your twist is the centre of where your Bantu Knot will sit.
Starting as near to the root as possible, hold a section of your twisted hair and create a tight loop. With the remaining section of hair, twist and wrap your hair underneath that loop. This creates the first layer of your Bantu Knot. Continue twisting your hair, wrapping each layer beneath the previous layer.
Repeat steps 3, 4 and 5 for your remaining section.
Then, repeat steps 2 to 5 for the rest of your head.
Step 6: Lay those edges
Once you have all your Bantu Knots firmly in place, finish off the hairstyle by laying your edges. If you want to take your hairstyles to the next level, learn
And just like that - you're done!
How to sleep with Bantu Knots in:
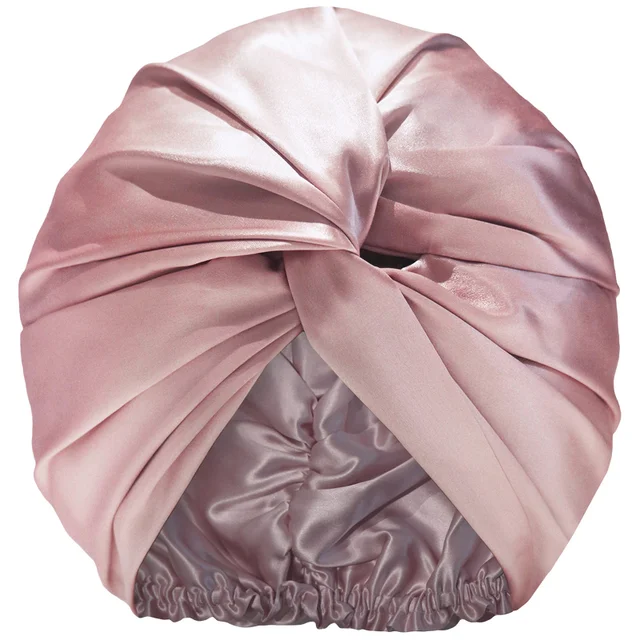
Wear your Bantu Knots as a statement hairstyle in the day, and sleep with them in overnight to create heatless curls. Just make sure to wrap your hair in a turban or silk scarf before you go to bed. Tossing and turning on cotton pillowcases creates friction, which leads to frizz. To avoid this, protect your hair with a bonnet while you sleep. If you want to find the perfect bonnet for you, check out our
How to take down Bantu Knots:
- Twist the knot in the opposite direction to which you wrapped it. Make sure you have some oil on your hands while you do this to minimize frizz. The knot will bounce down into one large corkscrew curl.
- Carefully separate each section to create lots of smaller curls and tease the hair to your heart’s desire.
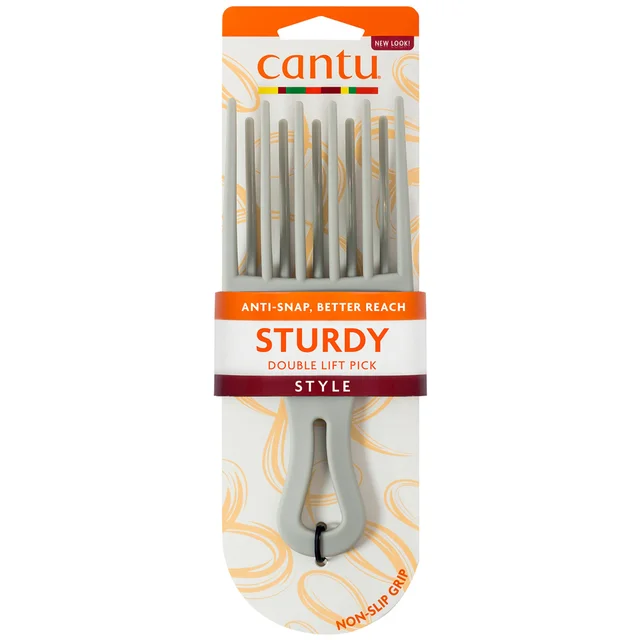
Once you have achieved your desired look, use a pick to tease the roots, adding volume.
Want to learn more about curly hair? Discover your

Our team of beauty experts cover everything from makeup to skincare, picking out the most effective products from the best brands and latest trends. Stay up to date on everything beauty with the LOOKFANTASTIC blog, and find all your essentials in one place.
