How to wash and go for naturally curly hair
You've probably heard the phrase 'wash and go' thrown around in the curly community, but what does it actually mean? Funnily enough, it does what it says on the tin.
Wash and go simply means you WASH your hair (i.e. shampoo and condition), add your styling products, then GO and get on with your day. That's it.
Rather than spending lots of time straightening, blow drying or diffusing your hair, you let your hair air dry as you go about your day. You don't manipulate your natural curl pattern with rods, twists, or Bantu Knots - you simply embrace your hair's birthday suit.
The wash and go is a great way to refresh stretched, dry or frizzy curls. The method lets your hair start again, without putting it through the stress or damage of heat manipulation techniques. Saving you time and breakage, the wash and go technique is at the centre of the natural hair lifestyle. If you're looking to go natural, trying to cut down your routine, or moving towards heat-free styling - the wash and go is exactly what you need.
You can wash and go in four simple steps:
- Cleanse
- Condition
- Style
- Airdry
Step 1: Cleanse those curls
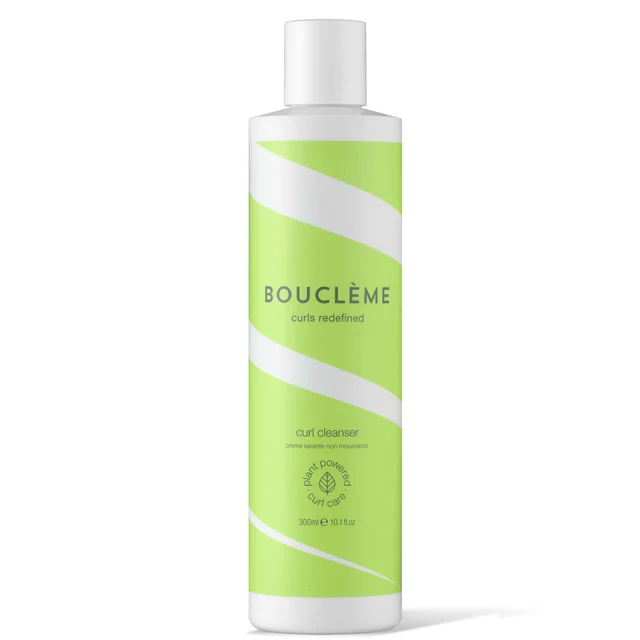
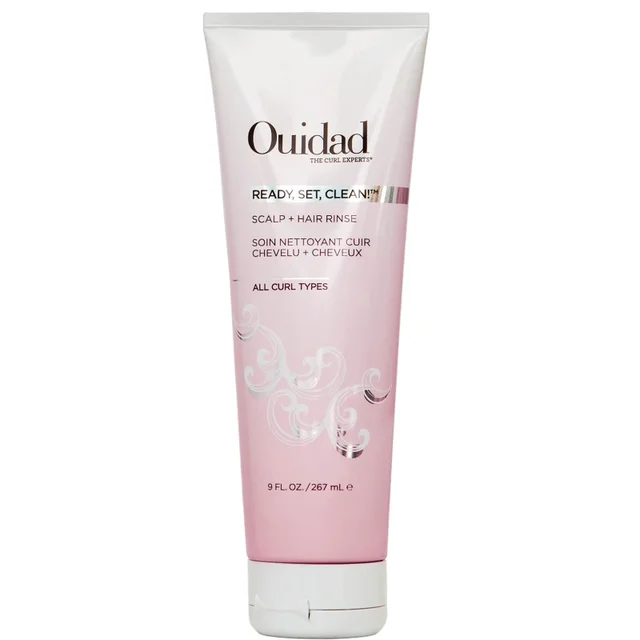
Make sure your cleanser is gentle yet effective, uplifting dirt without stripping the strands. For curly hair, squeaky clean is a bad thing, it means your hair has been stripped. Instead, your hair should feel clean from root to tip, but still moisturised.
Work the shampoo in at the scalp, moving in a backwards and forwards motion, rather than in circles. Circles can encourage your hair to matt, making detangling all the more difficult. Focus on the scalp only - your lengths will get cleansed when you rinse the shampoo out.
Cleansing is an extremely important part of any hair care routine, but this is especially true for curly hair types. We use so much product to keep our coils defined and springy, which actually creates a build-up on the scalp. This build-up can cause irritation and itchiness, even slowing hair growth in some cases. Rather than going shampoo free, as some outlandish may methods say, we recommend going sulphate free.
If you're following the Curly Girl Method, you'll need to check your cleanser is CG Approved. Even if you're not following the CGM, I would recommend choosing a sulphate-free shampoo (all of the shampoos listed above are free from sulphates).
Sulphates can be very harsh on hair, stripping the strands of their natural moisture and drying out the locks. As curly hair is already more prone to dryness than other hair types, sulphates can be a recipe for disaster.

10 best sulphate-free shampoos for curly hair
Discover the best sulphate-free shampoos for curly girls and guys.
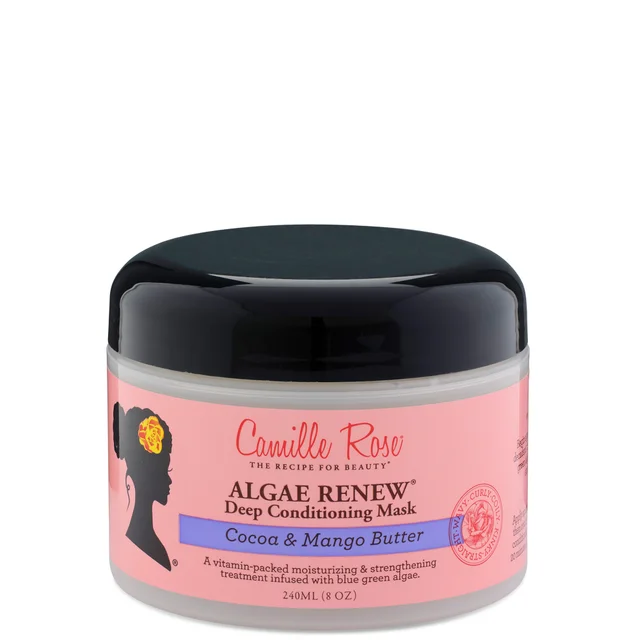
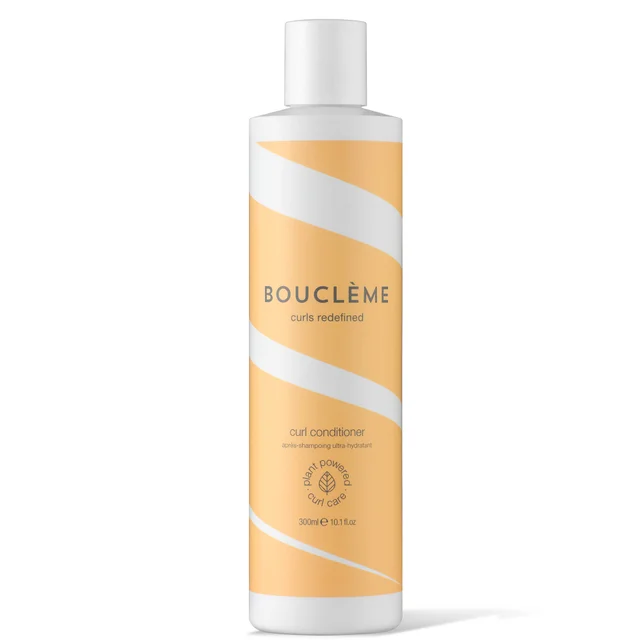
Step 2: Apply conditioner and carefully detangle
Sectioning is vital if you have a coily texture. If you’re not sure which texture you are, discover your curly hair type, here on LOOKFANTASTIC. If you have hair types 3 or 4, separate your hair into four sections. If you're type 2, you'll be fine with just two.
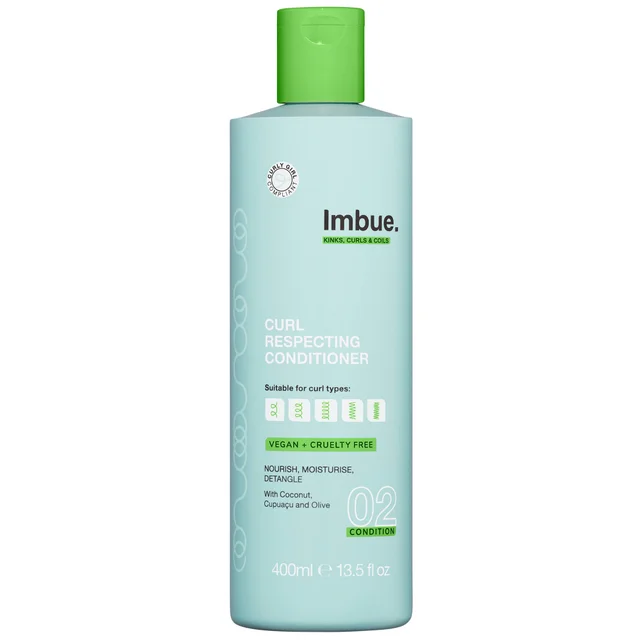
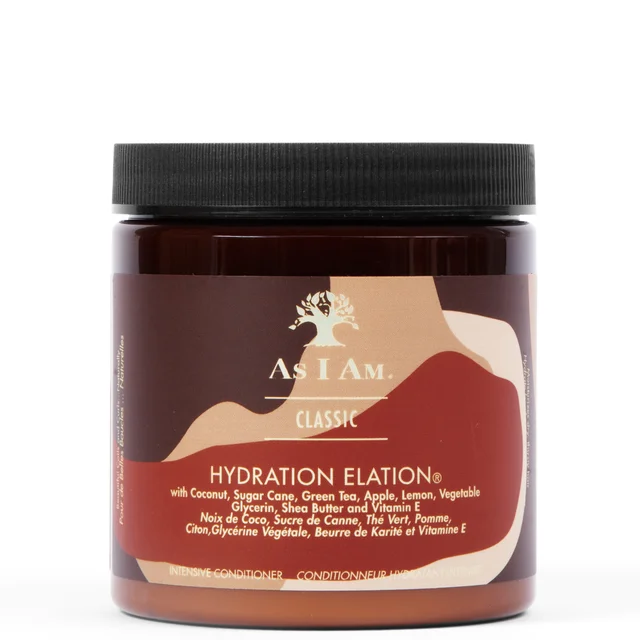
Starting at the ends of your first section, apply the conditioner in a downwards motion, slowly working your way up your hair. Once the area is saturated, go in very carefully with a comb or brush. When I say carefully, I mean really carefully. Your ends are the most fragile and prone to breakage, so if rushing through it, you'll simply snap your hair. If you can't get your hair to grow past your shoulders or it keeps breaking - this could be why (it certainly was for me). If you have the time and patience to finger detangle before going in with a comb or brush, your hair will love you for it.
Move through section by section, taking as long as you need to carefully detangle your curls. After you've finished detangling, leave the conditioner in for however long the directions instruct. I just put my hair up in a bun and continue with the rest of my shower routine.
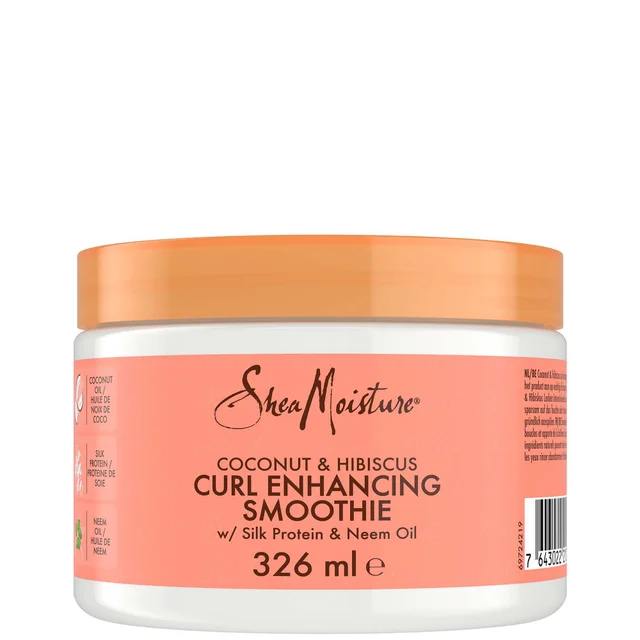
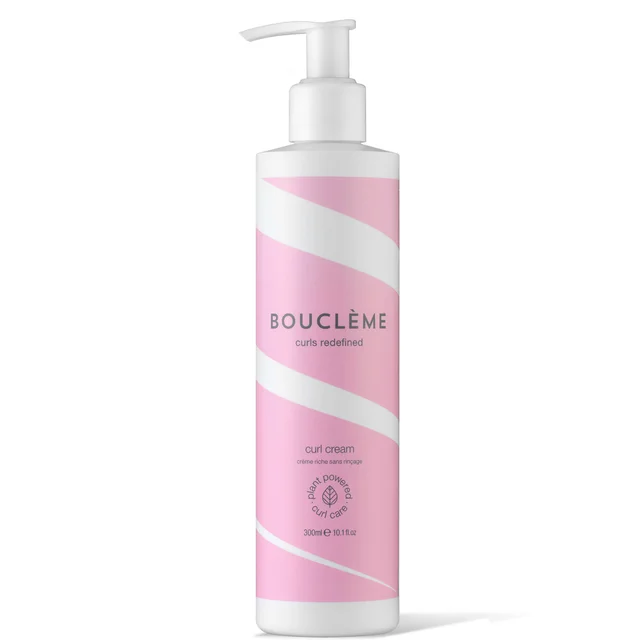
Step 3: Super Styling
Now, this step varies from curly to curly. Some swear by the Curly Girl Method, others by the LOC method. Although how you layer your products and which ingredients you use are down to personal preference (and a lot of trial and error), every head of waves or curls needs hydration and hold.
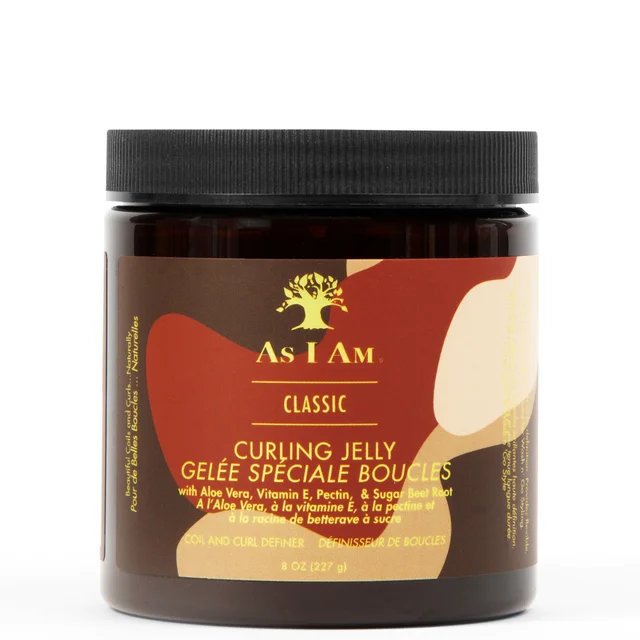
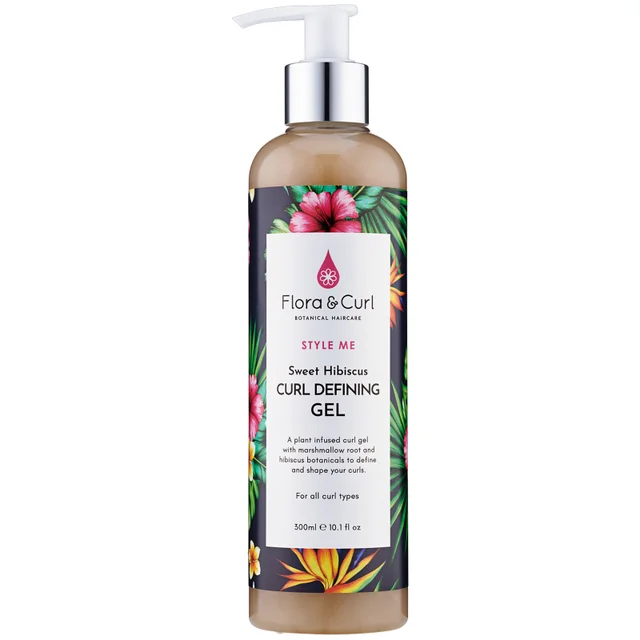
You'll find hydration in the form of curl creams and lotions, and hold in the form of curl gels, definers and jellies. How much you need of each depends on your hair type.
The coarser your texture (type 4, I'm talking to you), the more hydration you'll need. This means you generally need products with thicker consistencies and more of them.
If you have a looser texture (that's type 2), lots of thick product can weigh your hair down, so go for something light and apply less of it. Those with waves also may need more hold, as your curls are more likely to drop.
Step 4: Get going
A key part of the Wash and Go is the going. Once your hair is washed, conditioned and styled to perfection, you leave the house or get on with your day.
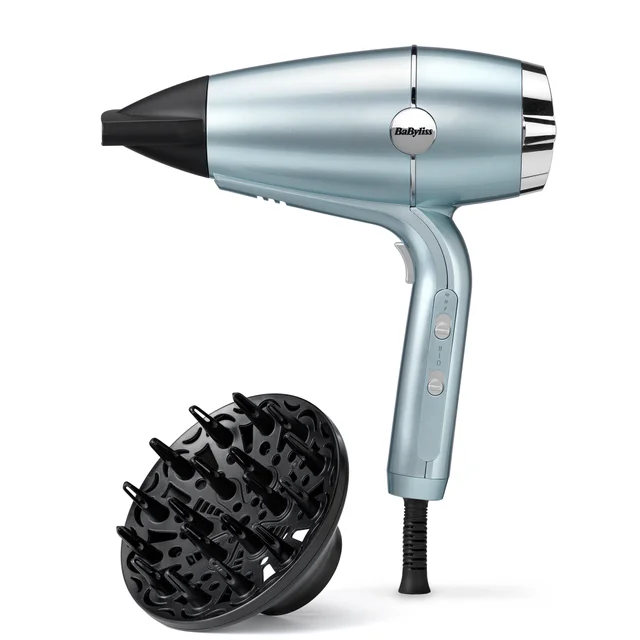
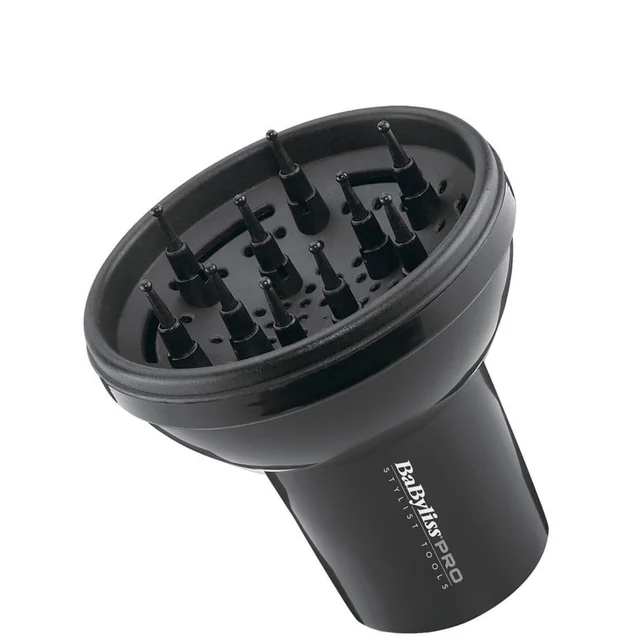
If it’s a particularly cold day, or you just don’t fancy going into work or school with wet hair, then you can add a diffuser to the end of this routine. Just make sure you have it on a low heat to minimise damage.
Top tip: when diffusing, you should always leave your hair for at least 30 minutes to dry naturally first. If you try to instantly diffuse, you’ll just create frizz.
Discover More...

How to sleep with curly hair overnight
Discover the best ways to sleep with curly hair overnight. Protecting your curls while you sleep minimises frizz and breakage, encouraging hair to grow longer and stronger.

Our team of beauty experts cover everything from makeup to skincare, picking out the most effective products from the best brands and latest trends. Stay up to date on everything beauty with the LOOKFANTASTIC blog, and find all your essentials in one place.
