A Beginner’s Guide to Nail Art
With time to pick up some new beauty skills, nail art is a fun way to level up your current nail routine without going to the salon. Partnering with the team at Essie, we've created a selection of the best nail art designs, keeping these quick, easy and using items you'll already have around the house.
Design 1: Polka Dots
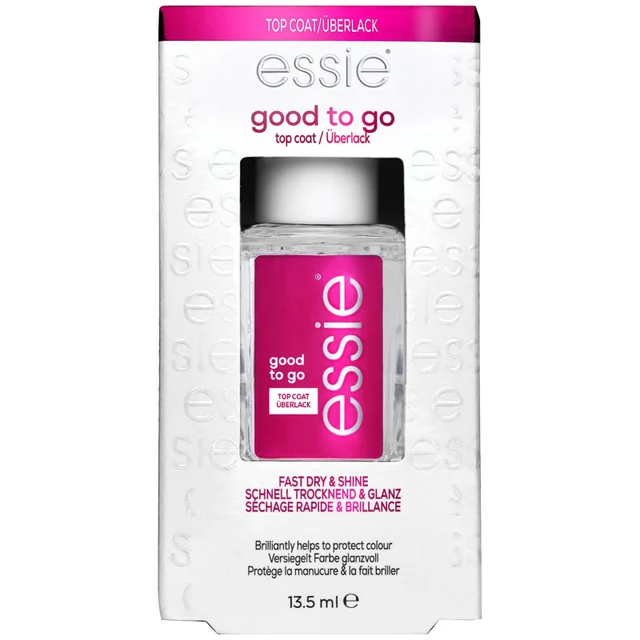
Don't worry if you don't have a nail dotter, all you need is an Essie Base Coat, two Essie Original Nail Polishes, a Kirby grip, and an Essie Top Coat.
Start with a base coat and two coats of the first Essie Original Nail Polish. For best results, pick two contrasting colours. Once dry, use the Kirby grip to create the polka dots, only using a small amount of polish and making sure to apply these dots precisely to ensure an even coverage of colour. Once dry, apply an Essie Top Coat.
Design 2: Paint Splatter Effect
The household item you need for this 'paint splatter' design is cling film. After applying a base coat and two coats of Essie Original Nail Polish, wait for this to fully dry. Following this, scrunch the cling film into a small ball which is just slightly larger than your nail. Select a second colour of Essie Original Nail, cover the cling film in this shade, and press this down onto the nail. Repeat until you create your perfect paint splatter design, and finally apply the Essie Top Coat.
Design 3: Newspaper Print
Tell a story on your nails with a newspaper print effect. Start by painting two coats of Essie Original Nail Polish, the lighter shade the better, but don't wait for this to dry. Cut a newspaper into small pieces, and use one per nail. Press the newspaper onto each nail for a few seconds to transfer the print. After leaving to fully dry, finish with Essie Top Coat to seal in the design.
Design 4: Striped or Two Tone Nails
To experiment with a stripe or 'two tone' effect, start with base coat and two coats of Essie Original Nail Polish and wait until this is completely dry. Apply a small piece of tape over the nail, pressing only very lightly to apply, and use this as a guide to paint the exposed section of the nail. Once this is dry to touch, carefully peel off the tape and apply your Essie Top Coat.
If you prefer not to use tape, use a makeup eyeliner brush that has a flat side. For best results, apply the coat in one continuous stroke.
Design 5: Ombre Effect
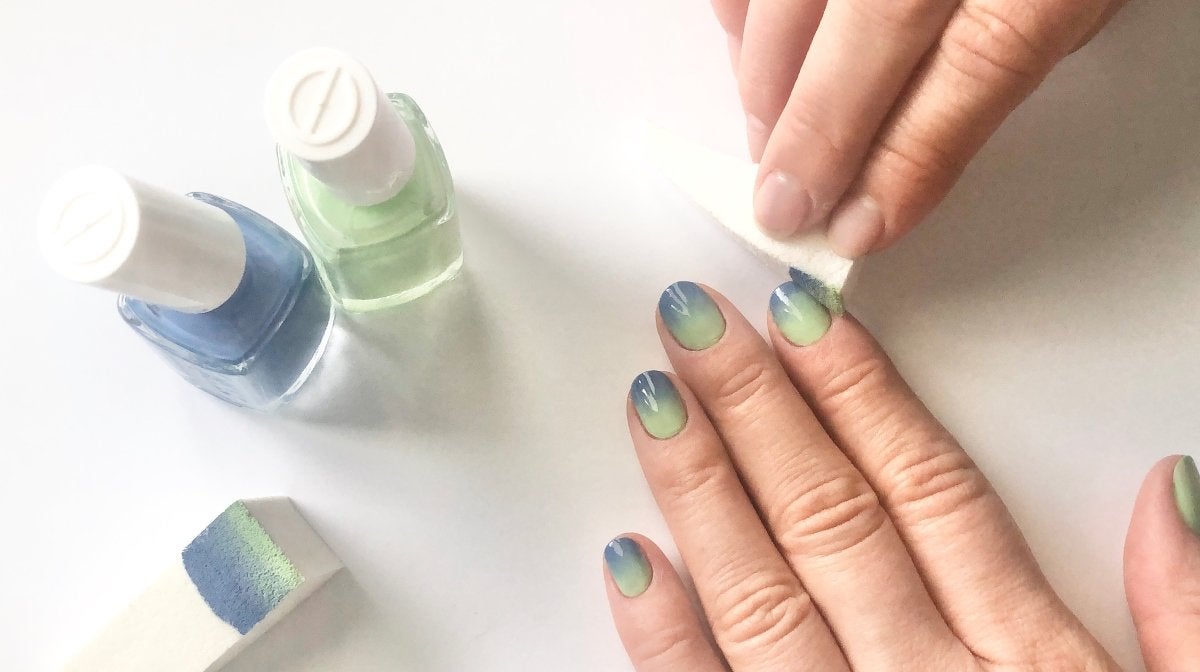
Ombre nails might sound tricky, but the secret to making this smooth and simple is by using a makeup sponge. Apply two coats of Essie Original Nail Polish, and once completely dry, dip your cosmetic blender into a second polish and start to sponge onto the nails. Repeat until you love the ombre effect you've created. Wait for this to dry, and apply the Essie Top Coat.
Explore the full range of Essie nail colour and nail care, all designed to make manicures fuss-free and long lasting.

Life motto: 'There's no such thing as too many beauty products'
