How to do a Dutch Braid Up-Do with Redken
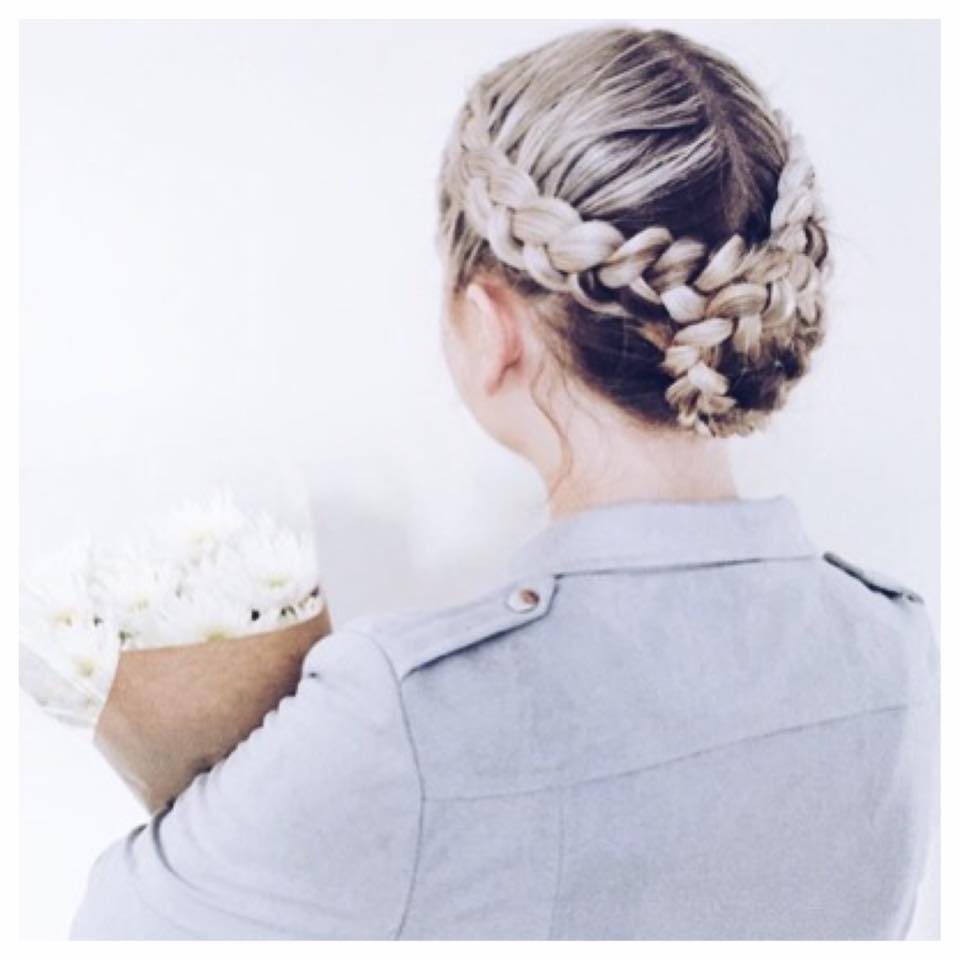
Braids and plaits are everywhere right now and we think they're going to continue being the look of the season into Autumn too. We've partnered with Redken and our gorgeous #LFAmbassador Meg to show you how to do a Dutch Braid.
It is a great way to wear your hair up and is much easier than it looks. Just watch the video and read on to discover the step-by-step.
An Easy Dutch Braid Up-DoTutorial
https://youtu.be/Gdx4LUU3_Uo
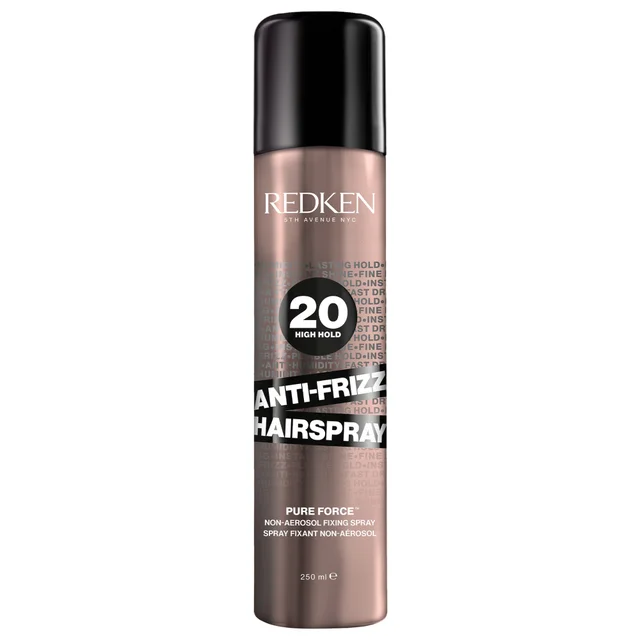
- Prep your hair with hairspray. It adds a little grip and texture to your hair, making it easier to handle as you braid.
- Part your hair into 3 sections- 1 small section at the nape of the neck and then the rest split in 2 along the centre parting.
- Start plaiting from the front of the head on one side with an 'inside-out' french braid.
- Start with 3 small sections of hair and cross the left section of hair under the centre. Then cross the right section of hair under the centre.
- Repeat step 4 and keep adding more hair to the sections every time you cross the pieces under the centre strand.
- Secure the plait with an elastic band and then tease out the braid by gently pulling it apart. This will make it look more full and voluminous.
- Repeat on the other side, so you have 2 plaits.
- For the final up-do, use the unplaited section of hair at the nape of the neck to create a small bun. Then wrap this with the ends of your braids and secure with bobby pins.
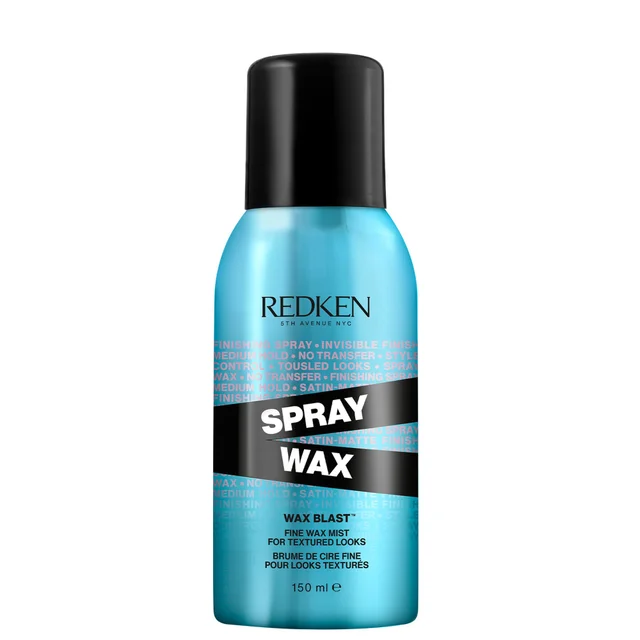
- If you want to make it look a little lived in, apply a texturising spray as the finishing touch, running your hands over the top of your hair. Then that is you done, with a gorgeous hairstyle that everyone will love.

Major fan of scented candles, Make Up brushes and Highlighter. I’m always on the hunt for those Holy Grail products and my dressing table is covered in more beauty products than I like to admit. As an adopted Northerner originally from Brighton, I spend most my days wondering what all this rain is about. My hair isn’t grateful for the move. Currently loving: NIOD Photography Fluid
